
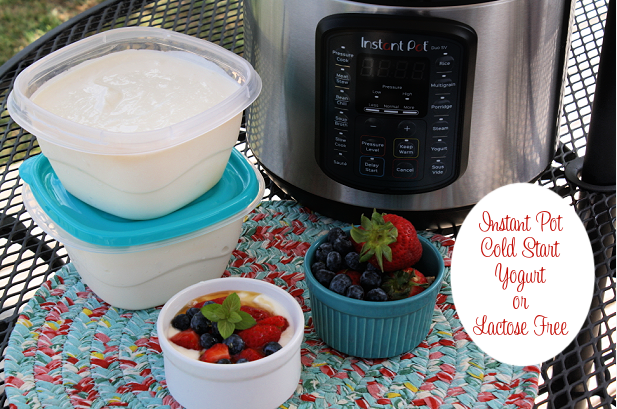
How to make thick and creamy yogurt easily in your Instant Pot! Store bought yogurt may be convenient but nothing compares to the creaminess and taste of homemade yogurt.

Making yogurt is one of the best features of the Instant Pot! It's super simple to make and one of the main reasons I purchased the Instant Pot from the start. Before the Instant Pot, I was making homemade yogurt in my Slow Cooker. I loved the yogurt, but the whole process was really time - consuming. By using the Instant Pot, I can have thick, creamy Greek yogurt in 8 hours versus 12 and it is practically hands free.
Once you have all your ingredients together, simply add everything to the instant pot and push the yogurt setting. I prefer 8 hours for my yogurt to incubate, but use your preference. The longer the yogurt incubates, the tangier it is. Once the yogurt is done, chill and enjoy!

We love our yogurt topped with maple syrup, honey, fresh fruit, berries, freezer jam and granola. My favorite way is to top mine with fresh berries and raw honey. Once you taste homemade yogurt, you'll never go back to store bought yogurt. This recipe makes a good amount and will keep in the refrigerator for up to 2 weeks if stored in a covered air - tight container.
.jpg)
I use the cold start method for this yogurt recipe, so there is no need to heat the milk first. The most important step in making cold start yogurt is the type of milk used. The milk must be Ultra - filtered or Ultra - Pasteurized. If you want Lactose Free yogurt (like me) you will need to use Lactose Free Ultra Pasteurized (whole or 2% milk).

You also need to make sure that if you're not using a yogurt starter that the store bought yogurt that you use as a starter is a Plain yogurt or Plain Greek yogurt with Live Active Cultures. My favorites are Fage Plain or Chobani Plain Greek yogurt. Just look at the back of the yogurt container and make sure it contains live active cultures (see above).
You will also need vanilla extract and a sweetener, I use one can of sweetened condensed milk. For dairy free use Lactose free sweetened condensed milk . I am lactose intolerant on some things, but I don't have any issues using regular sweetened condensed milk in this recipe.


If you would like to add a sweetener add it now, I use sweetened condensed milk (it gives the perfect amount of sweetener), add 1 teaspoon vanilla extract (I use Mexican vanilla), and whisk everything together to make sure it is all combined.


The time on the display will count up. The yogurt will start to thicken as soon as 3 hours, but wait to check the thickness at around 6 hours. To test the thickness gently dip a spoon into the yogurt, but DO NOT stir. 8 hours of incubating will yield a perfectly thickened yogurt.


Place a paper towel over the top of the insert (to collect moisture as it cools) and cover with plastic wrap or foil. Refrigerate the yogurt overnight or at least 6 - 8 hours. The yogurt will thicken a bit more as it chills.
Remove the insert from the refrigerator and lightly stir!!! Look how thick and creamy the yogurt is. If you would like and ever thicker yogurt similar to the consistency of Greek yogurt you will need to strain it some to remove the whey. I use a yogurt strainer.


Now it is time to store the yogurt. Transfer the yogurt from the instant pot to an air tight container for long term storage. Yogurt can be refrigerated for up to 2 - weeks if it lasts that long. 😉
Enjoy!
Hungry for more? Check out the Recipe Index by Mommy’s Kitchen.
Be social and follow along on Facebook, Instagram, Twitter and Pinterest! for all the latest updates!
Join the Mommy's Kitchen Mailing List and you'll get the latest recipes and updates delivered straight to your inbox for Free!
4 comments